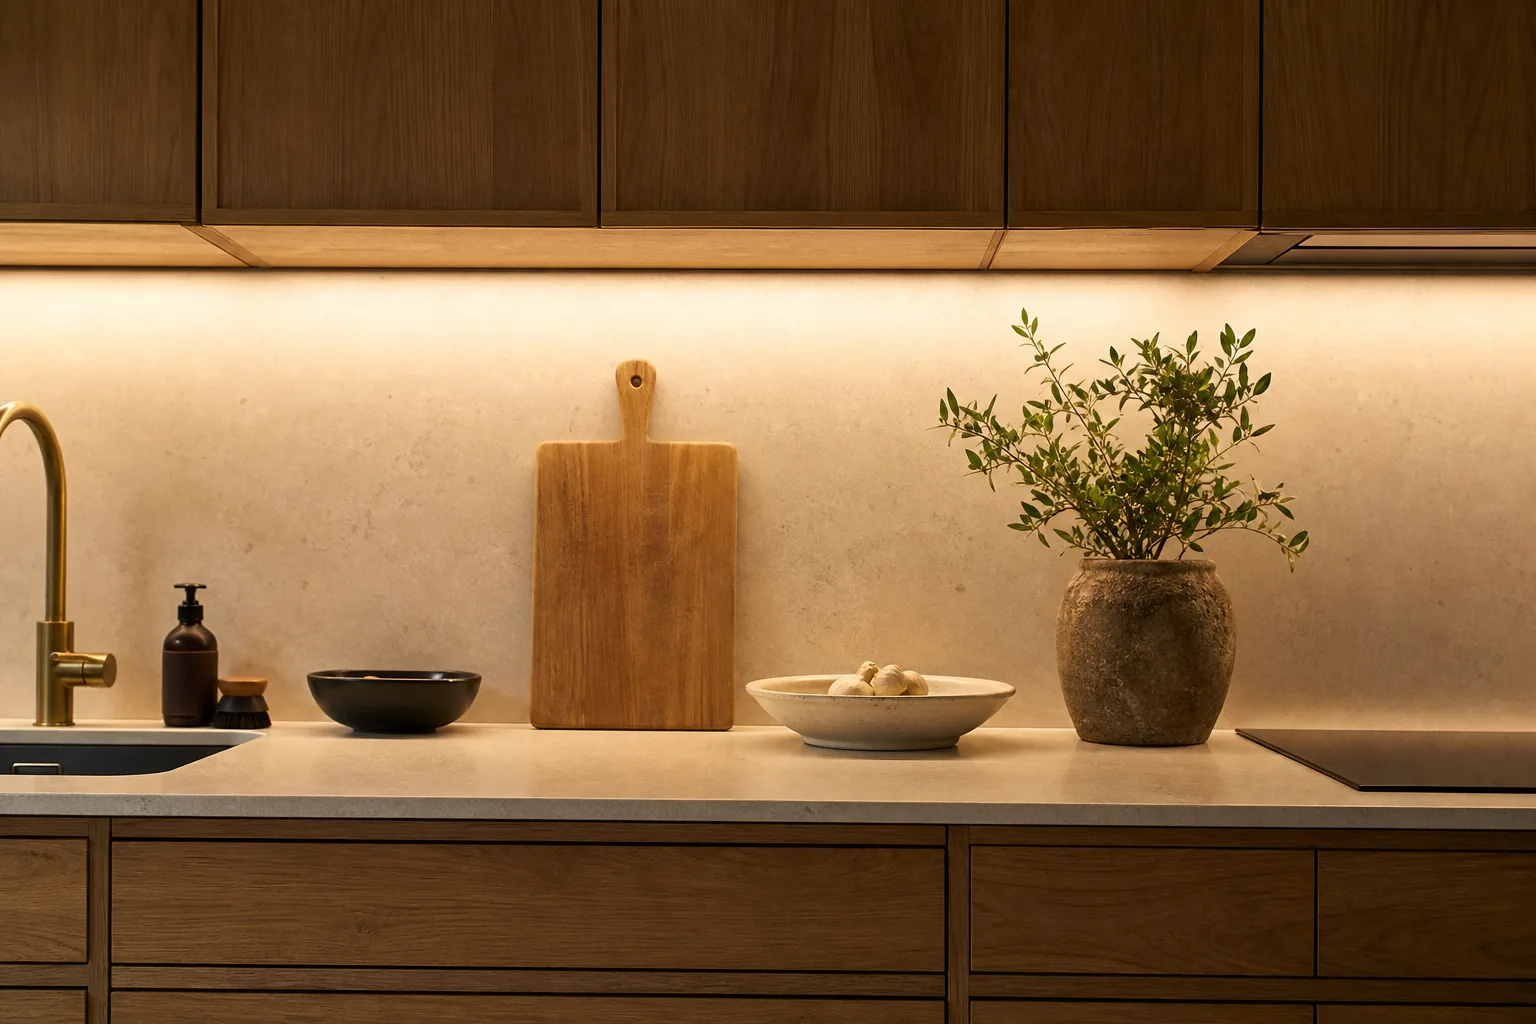
Under-cabinet lighting is easy to overcomplicate. The goal is not to create a glowing strip visible from across the room. It is to place even light on the counter where chopping, reading and cleaning happen, while allowing the fixture to recede.
Move the light toward the front edge
A strip mounted against the backsplash can create a bright band at the rear and leave the working edge dim. Moving it toward the front of the cabinet projects light across more of the counter. The cabinet lip or a slim channel can then hide the source from normal sightlines.
Use a diffuser
Visible points from an LED strip make reflective stone and glossy tile look harsh. An aluminum channel with a frosted diffuser softens those points, keeps the line visually continuous and helps the installation feel intentional.
The channel also gives the strip a straight mounting surface and a more finished edge. Check the dimensions before ordering: a channel that projects below a shallow cabinet lip can solve the light problem while creating a new visual one.
Good task lighting makes the surface clearer without making the fixture louder.
Match the room before chasing brightness
Color temperature should sit comfortably beside the kitchen's other lighting. Warm residential rooms often feel coherent around 2700K to 3000K, while a slightly cleaner 3500K can suit a modern work-focused kitchen. More important than the exact number is avoiding a visibly blue strip beneath warm ceiling lights.
Color rendering deserves equal attention because food, timber and stone should look natural rather than grey or oversaturated. Published colour-rendering information is more useful than vague descriptions such as “premium white.” If possible, test a short length in the actual room at night before committing to every cabinet run.
Light the whole working run
Short pools of light under selected cabinets can make the counter look patchy and leave the busiest areas in shadow. Map the full preparation route—from refrigerator to sink to chopping space—then decide where continuous light is useful and where a deliberate break makes sense.
Corner cabinets need particular care. Two strips that stop short of the corner can create a dark wedge; strips pushed together without planning can create a bright hotspot. A mock-up with painter's tape and a temporary power connection makes these problems visible before permanent installation.
Choose the system, not only the strip
A complete installation includes the light source, channel, diffuser, driver, connectors, controls and a route for wiring. Confirm that the driver has enough capacity for the total run with appropriate headroom, and that the dimmer is compatible with both driver and LEDs. Incompatible components can cause flicker, uneven dimming or an audible buzz.
Consider serviceability. A driver sealed behind finished cabinetry may be impossible to replace without damage. A small, ventilated and accessible location inside a cabinet or above a removable panel is less invisible on day one but much kinder several years later.
Make maintenance part of the layout
Kitchen grease and dust slowly reduce light output, especially near the cooktop. A smooth diffuser that can be wiped without removing the fixture is easier to maintain than an exposed strip. Keep drivers and connectors away from steam, water and direct heat, following the manufacturer's placement limits.
If one continuous run crosses several cabinet sections, plan how a failed part can be isolated. Replaceable sections and accessible connectors prevent a small fault from turning into a complete cabinet disassembly.
Plan control and power early
Hardwired lighting gives the cleanest result during a renovation. Plug-in systems are easier to add later but need a route for cable and a discreet power point. A dimmer is worth prioritizing: bright light helps with preparation, while a low setting becomes useful background light after dinner.
Motion or door sensors can be useful in a pantry, but the main worktop usually benefits from a simple manual control. A wall switch, discreet touch point or reliable smart control should remain understandable to guests and continue working when an app or internet service is unavailable.
Specification checklist
- Measure the working run, corners and breaks rather than only cabinet widths.
- Position the source toward the front while keeping it hidden from normal sightlines.
- Use a channel and diffuser to control glare on polished counters and backsplashes.
- Match colour temperature to the room and check published colour-rendering information.
- Confirm driver capacity, dimmer compatibility and an accessible service location.
- Use a qualified electrician for mains wiring and code-dependent work.
Before ordering
Measure every cabinet run, mark breaks at sinks and appliances, decide where drivers will live and test the color temperature beside the room's existing lamps. For mains wiring, use a qualified electrician.