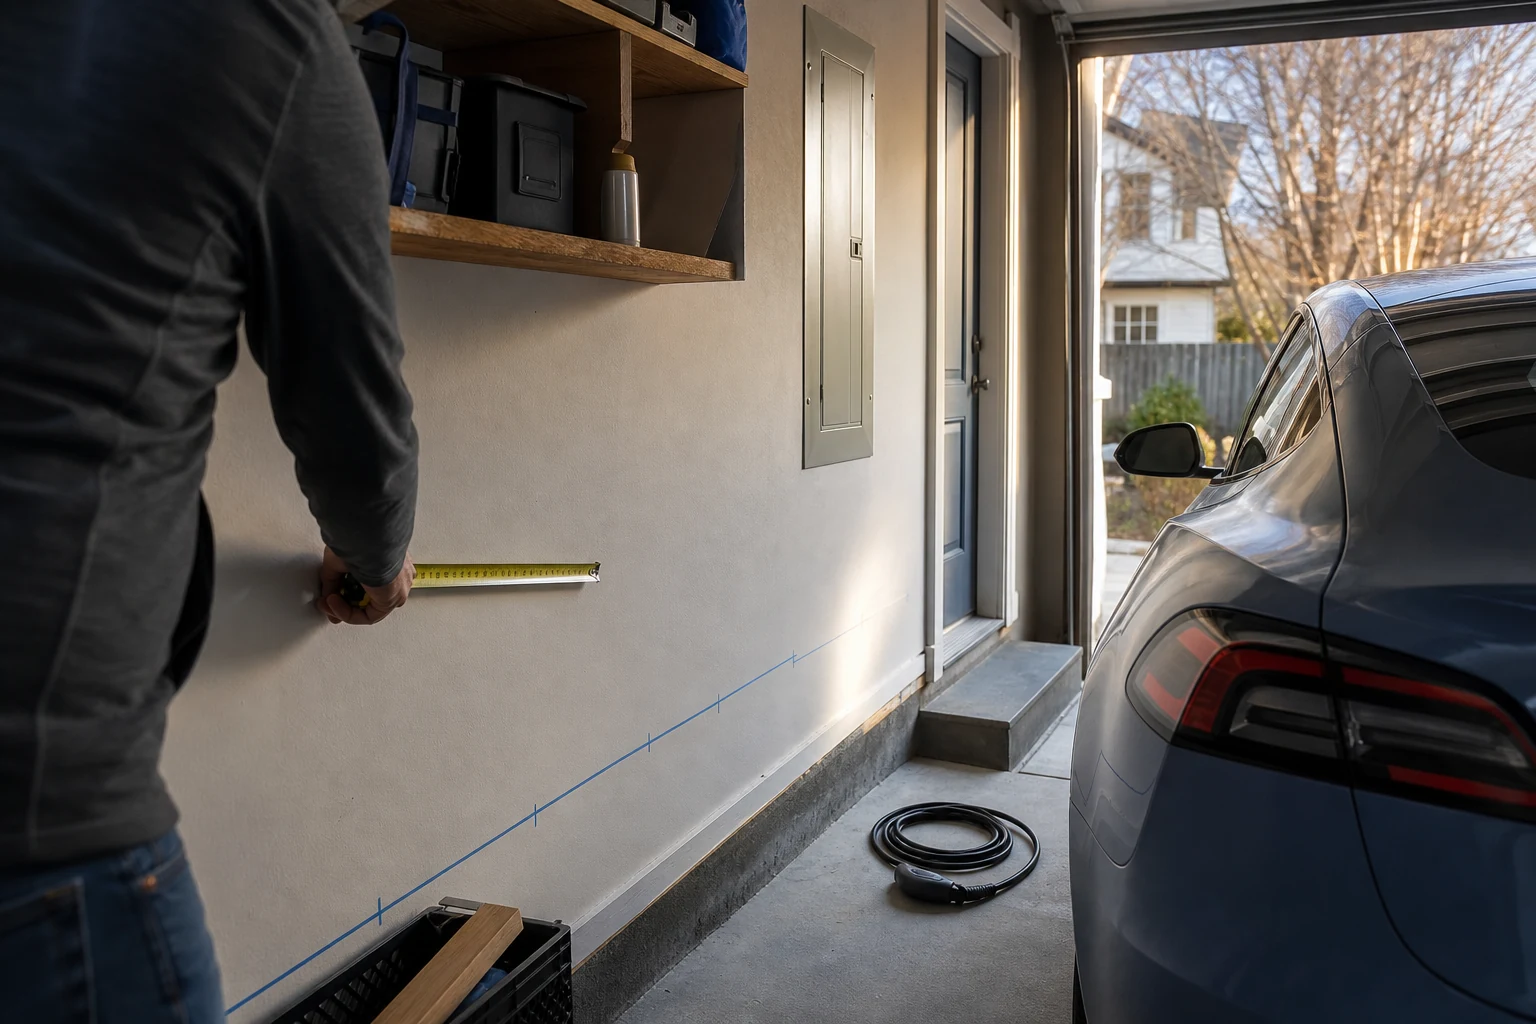
Home charging is often presented as a choice between Level 1 and Level 2 equipment. That is the visible decision, not the first one. The installation has to connect a particular car, in a particular parking position, to a particular electrical system on a routine the household can sustain. The shortest route, fastest hardware and highest advertised amperage are not always the same answer.
Start with one ordinary week. Where does the car park each night? How many miles does it need to recover before morning? Which side holds the charge port? Is the parking position consistent? Does a cable cross a walkway, garage door track or shared area? These questions shape cost and usability before a charger is selected.
Measure the energy need from the week
List daily miles for seven days and mark the longest normal turnaround between arriving and departing. Many drivers do not need to refill the entire battery every night; they need to replace the energy used that day. The Department of Energy's Alternative Fuels Data Center notes that many owners can meet daily driving needs with overnight Level 1 charging when a suitable dedicated 120-volt branch circuit is available near the parking location.
Level 2 charging uses 240 volts and adds range faster. ENERGY STAR consumer guidance describes typical Level 1 recovery at roughly 2 to 5 miles of range per charging hour and Level 2 at roughly 10 to 20, though vehicle, charger, weather and battery state all affect the result. Use the vehicle maker's charging figures and the household diary rather than treating these broad ranges as a promise.
Draw the parking routine at full scale
Park as usual, then use a rope or tape measure to represent the proposed cable. Follow a route that avoids tires, doorways, sharp edges and areas where people walk. Open the car doors, garage door, storage cabinets and trash-bin path. If two vehicles share the space, park them in both arrangements.
Charge-port position can turn a neat wall location into a daily stretch. Mounting the unit closer to the panel may reduce wiring cost while creating years of awkward cable handling. A longer charging cable can help, but it still needs safe storage and may have product-specific limits. Outdoor equipment needs a location and rating appropriate to exposure, plus protection from impact where vehicles maneuver.
Invite the panel into the conversation early
A licensed electrician should assess the service, panel capacity, existing loads, breaker spaces, wiring route, grounding, equipment instructions and local code. A panel that appears full is not automatically incapable, and an empty breaker space does not prove capacity. The answer comes from a load calculation and site conditions.
Ask for options rather than a single maximum-speed quote. Depending on the vehicle and driving need, an electrician may discuss a lower-current Level 2 circuit, hardwired equipment, a receptacle where appropriate, load-management equipment or a service upgrade. The cheapest hardware can require the most expensive route; a modest charging rate can sometimes avoid unnecessary work while still restoring the daily miles.
Price the route, not only the box
The equipment is one line in the installation. Conduit length, wall construction, trenching, panel location, permit work, weather protection and repair of finished surfaces can dominate the total. Ask the proposal to separate charger, circuit, route, permit and optional upgrade costs. If the garage is being renovated before the household owns an EV, pre-wiring the likely route can preserve choice without purchasing hardware that may age before it is used.
ENERGY STAR recommends four basic EV-ready steps: determine charging type, choose location, check electrical capacity and schedule installation. That order is deliberately unglamorous. It keeps a product from dictating a building decision.
Choose certified equipment and a responsible installer
Charging is a sustained electrical load, not an occasion for an improvised extension cord. ENERGY STAR states that its certified chargers are safety-tested by a nationally recognized testing laboratory and recommends a licensed electrician evaluate the home's wiring and hardware. Follow the vehicle and charging-equipment instructions, local permits and inspection requirements.
If a plug-in Level 2 unit is chosen, ask how the receptacle, circuit and cord arrangement will be installed and maintained for the intended continuous load. If the charger is hardwired, ask how it will be isolated for service. Do not assume a familiar-looking outlet or adapter makes every combination suitable.
Read the utility rate before enabling “smart”
Some utilities offer time-of-use rates, rebates, demand-response programs or equipment requirements. The useful schedule may be set in the car, the charger or both. Choose one authority to avoid conflicting timers. Confirm whether a rebate requires a specific connected model or data-sharing arrangement and decide whether that trade-off suits the household.
Connected functions can make off-peak charging easier and provide energy records, but the charger still needs to perform its basic task when an app changes. Examine manual controls, connectivity requirements, update support and what happens after a router or account change.
Plan for the second car without overbuilding today
A second EV does not always require two maximum-rate circuits. Cars with different schedules can share available capacity through approved load management, or charge on alternating nights. What matters is total dwell time and required energy. Ask the electrician how the proposed route and panel strategy would adapt if another vehicle arrives.
Also plan the human handoff. Put the cable where it naturally returns after use. Keep the connector off the floor. Make the status light visible without shining into a bedroom. A technically perfect installation that is irritating every night is not finished design.
| Evidence to bring | Decision it informs |
|---|---|
| Seven days of mileage and overnight dwell time | Required charging rate |
| Actual parking positions and charge-port side | Mounting point and cable reach |
| Panel, service and existing-load assessment | Circuit size, load management or upgrades |
| Wall, trench and finish conditions | Installed cost, not just equipment cost |
| Utility rate and rebate rules | Schedule and connected-feature value |
| Likely second vehicle or move | Conduit, capacity and hardware flexibility |
The charger should fit the week, the parking place and the electrical system—in that order.
Before requesting quotes
- Record one week of miles and the shortest overnight window.
- Photograph both parking arrangements and the vehicle charge port.
- Measure a cable route that stays clear of feet, tires and doors.
- Locate the panel without opening or working inside it.
- Check utility rates, rebates and required equipment lists.
- Ask a licensed electrician for more than one viable charging-rate option.
- Compare total installed scope, permits and future flexibility.
Our selection frame
For home charging equipment, we would compare independent safety certification, vehicle compatibility, cable length and handling, exposure rating, local controls, connected-service requirements, utility-program compatibility, warranty, support horizon and the quality of installation documentation. Maximum output is useful only when the home and routine can use it.